
Create and manage tags
💡 Tags are labels that you can use to structure and group your staff in different ways.
👀Below are some examples of situations in which it may be appropriate to create tags:
- Your employees have different skills needed to perform the tasks.
- Your employees have different types of employment.
- Your employees work in different locations or areas, or at different units.
Create a New Tag and Tag the Staff
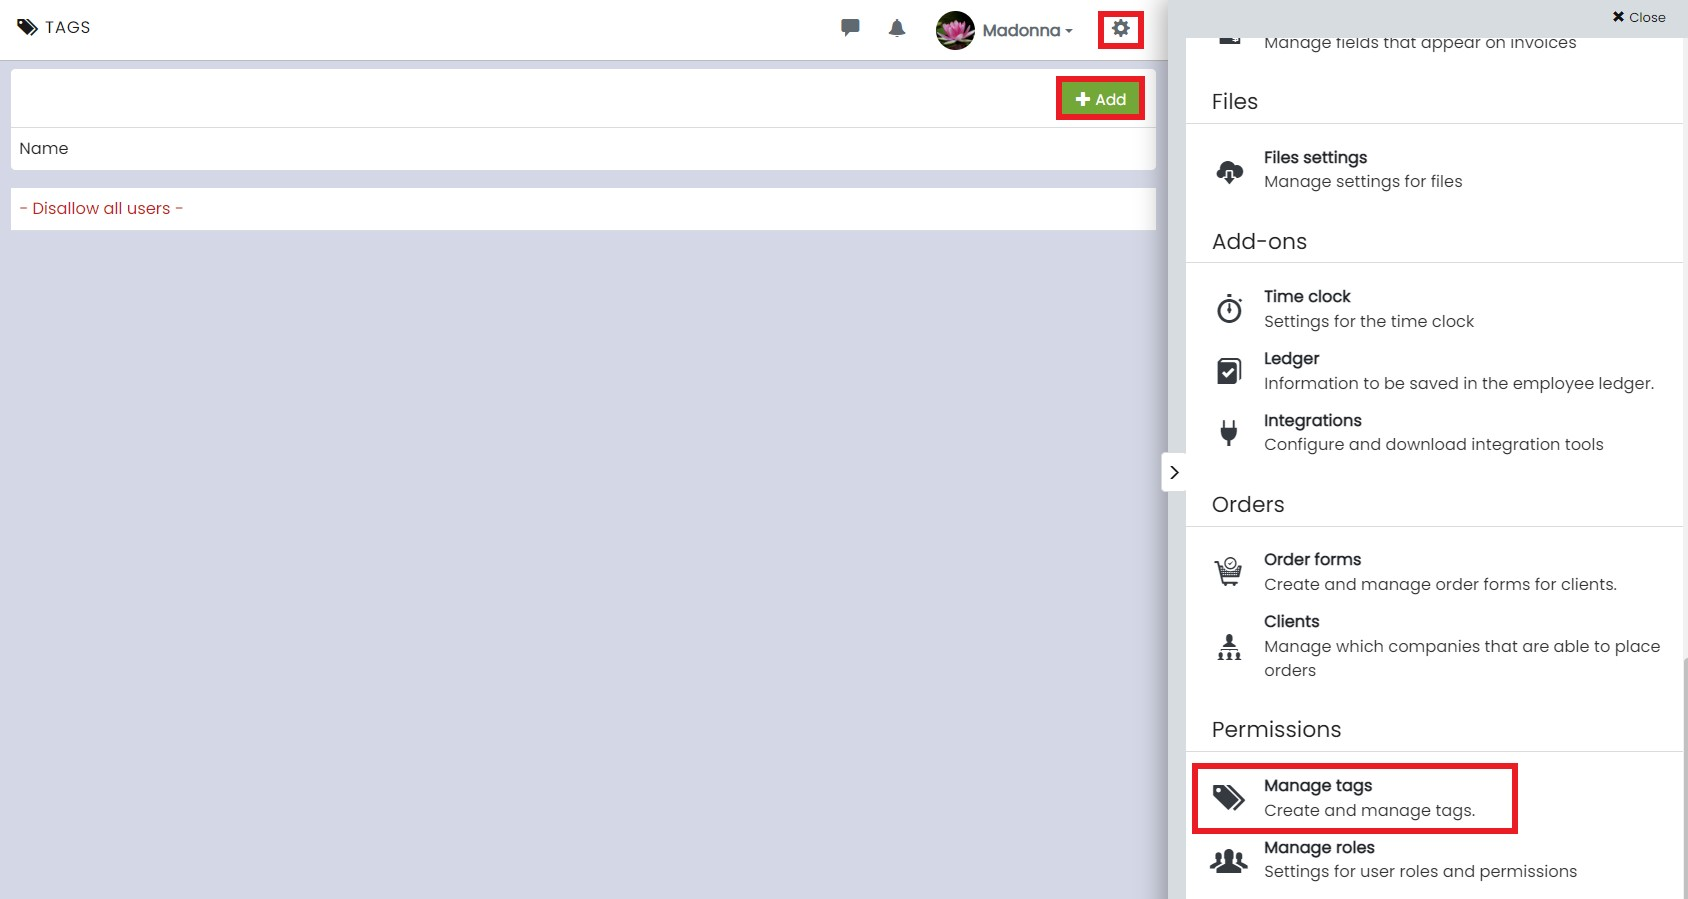
The easiest way to create tags is to go to ⚙️ > Manage Tags.
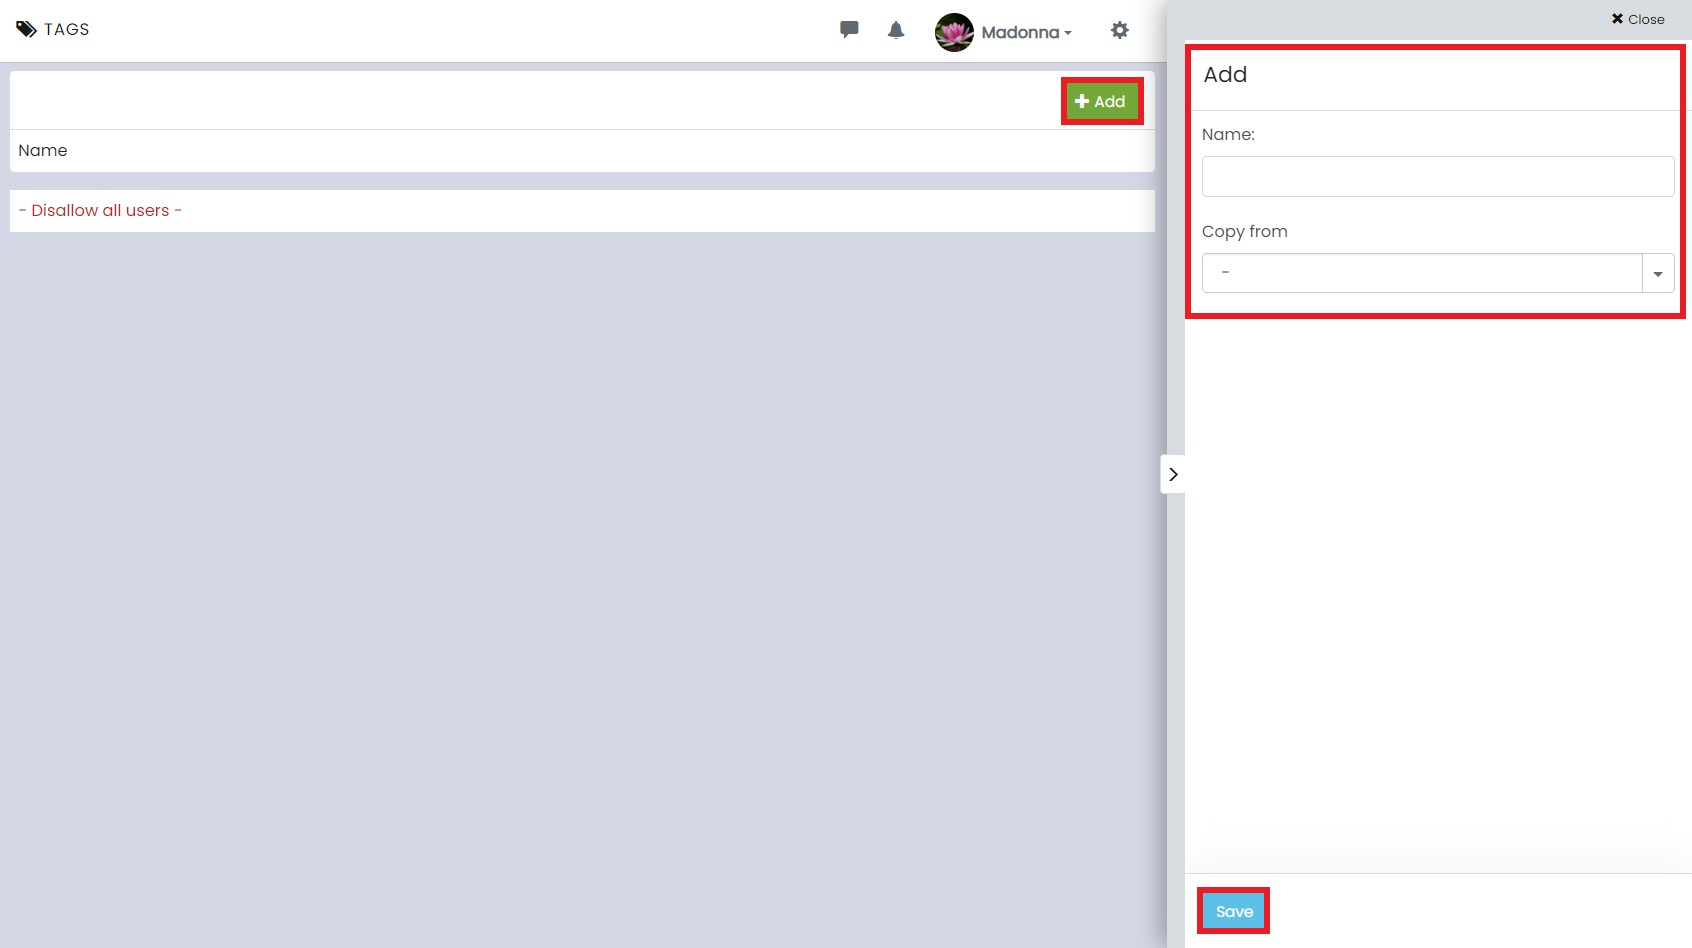
On the Manage Tags page, click on + Add, enter a name for the tag, and then select Save. After that, click the tag you just created, and check the boxes to the left of each employee to specify who should have the tag.
Convert tags to permissions
💡When you assign tags to both your employees and other registers, you ensure that the right people are booked for the right shifts and that the right people report time against the correct task, project, order, or unit.
This is how you tag a register:
- Select the desired tag and click on it.
- At the top of the page, you will see a number of tabs corresponding to your registers. Open the relevant tab and check the boxes in the Schedule and Report columns for one or more rows.
👀Each row represents a register post. For example, if you open a tab called Tasks, the rows correspond to the different tasks that your employees perform.
Change the name of a tag
Click on + Add, enter the tag name in the Copy from field, select the old tag, and save. Remember to delete the old tag once you have saved the change.
Delete a tag
Click on the tag you want to delete. Then select Settings in the top right and click on Delete tag.